
In the very earliest type of 1839 daguerreotype photographs, people had to be completely still for up to 15 minutes at a time, so they were still life too! No wonder people hid under blankets to get their kids to hold still even when exposure time improved.

And they didn't usually smile.

Partly because the idea of smiling for a picture is a fairly modern idea and partly because it's harder to maintain a smile than a relaxed face.
Give it a try. Set a timer, plaster a big smile on your face and see how long you can hold that exact smile while not moving a muscle. Not easy!

Even though our modern cameras can take pictures in a fraction of a second, we'll be working with inanimate objects for this project.
1. Find the objects you want to take pictures of. It doesn't have to be fruit like in traditional still life paintings but it can be.


Your subject can be anything. To help narrow things down we can focus on our own hobbies or collections or found items.
Do you or a friend have a collection of hats? Coins? Dolls? Scrapbooks? Cards? Family portraits? Match boxes? Antiques? Jewelry? Seashells? Rocks? Cupcakes? Anything goes!


2. Think about your background. Is it too busy? Avoid glass or metal in the background as they are harder to work with. A plain painted wall or large sheet of white paper are great. A table top, bed sheet or nice tea towel would work great as well. A lot depends on how large your objects are.
All of these next indoor pictures were taken on a sheet of black poster board with a few sheets of regular white computer paper, but you could just use a table instead of the black poster board. I used a flashlight sometimes as well.


"Helpful" cat is not required or recommended.

3. Find the light that best shows your object or collections of objects.
You'll want to turn off your camera's flash and have plenty of natural light. Or you can make a light box with white paper lining a box and have table lamps reflect through the paper. Lots of instructions online.

We have a light box available for the assignment day with Eline for you to use.
I didn't have a light box so I just held up the white paper. Both as a background and sometimes beside the objects to reflect light.


Here I was playing with adding light from a flashlight. Probably didn't help but it was fun.


4. Move the objects around till they suit you. Remember the rule of thirds. You don't necessarily want your main subject smack in the middle.
Move yourself too! Explore different light angles and heights. Try getting on the same level as the object.


Watch your shadow. Here mine got in on the act.


Not so noticeable on the black.

5. Try out your camera's macro setting for smaller items or to get extra close to details.


6. Try to tell a story with your objects. It doesn't have to be a literal story but it can be.


7. Take it outside. Lots of light out there.

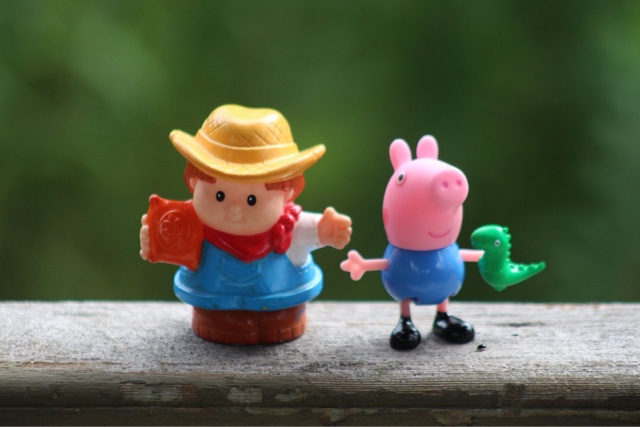
8. Mix a bit of live and still if you feel like it. Set up a scene and see what happens.


Here are some examples of pictures taken in a light box:


As always, have fun!
Please email 5-6 still life pictures to Melissa or bring them to the next session to share with the group.
Next Session: Monday, October 17th at 3pm
No comments:
Post a Comment